Printing on Tissue Paper
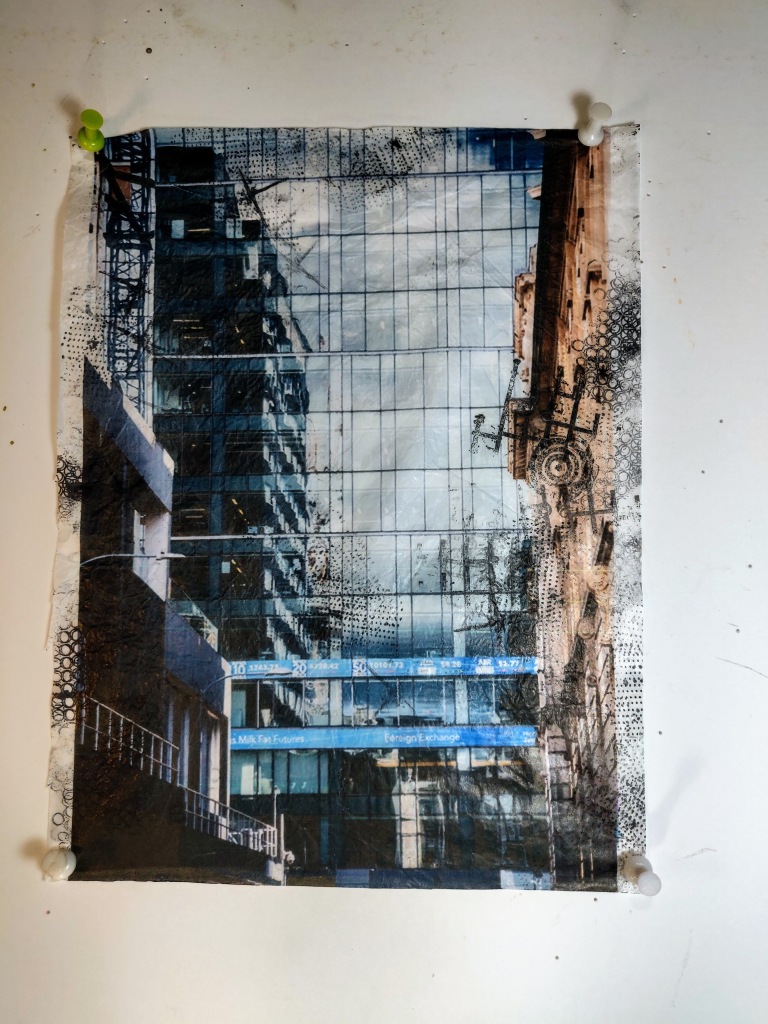
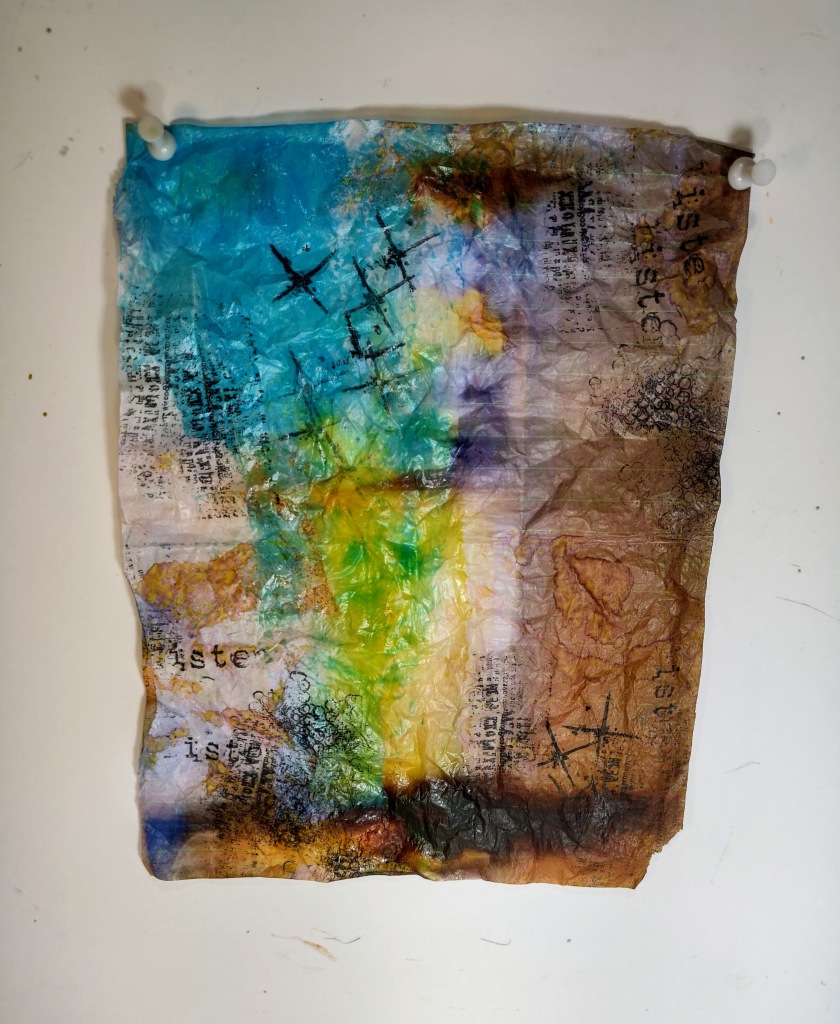
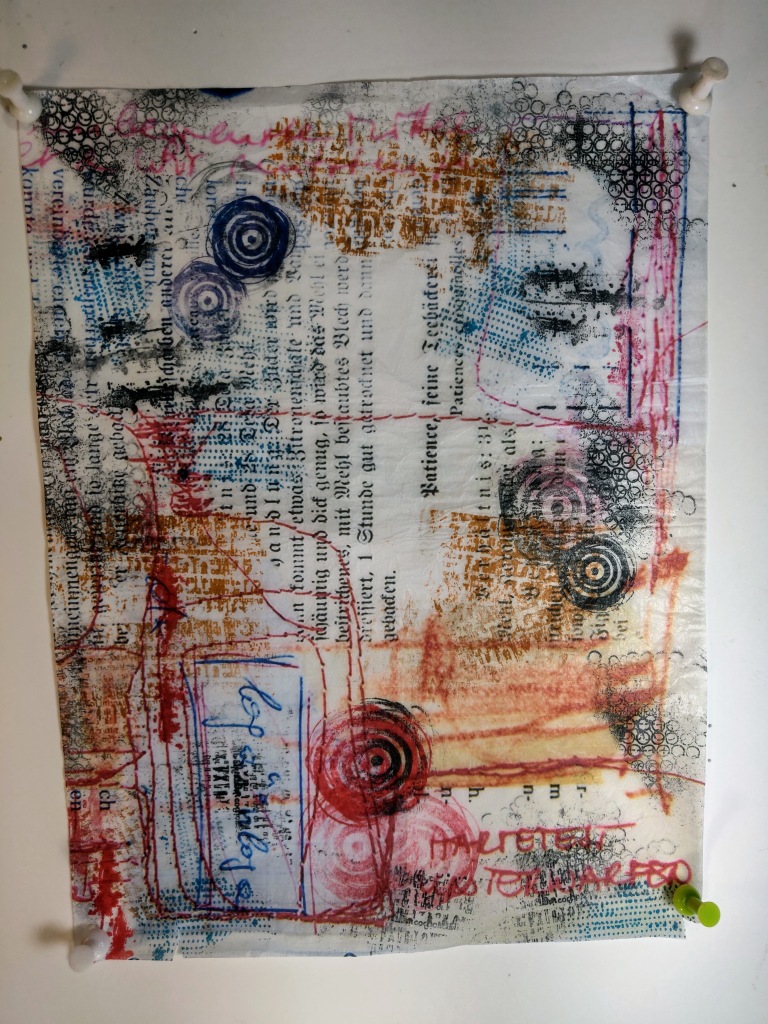
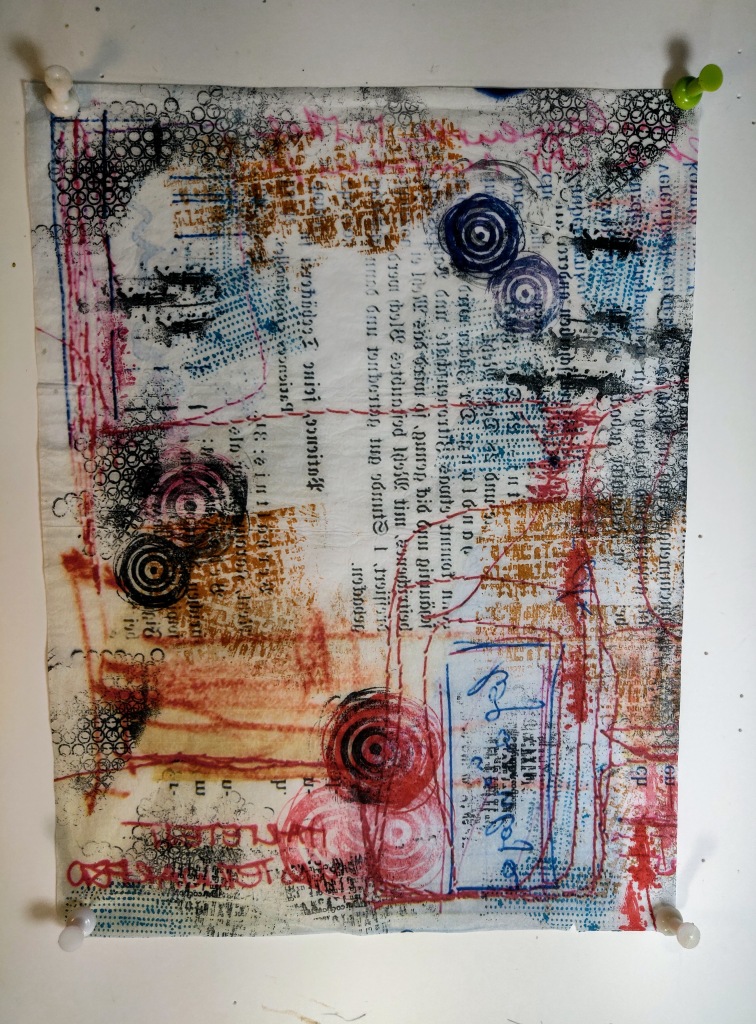
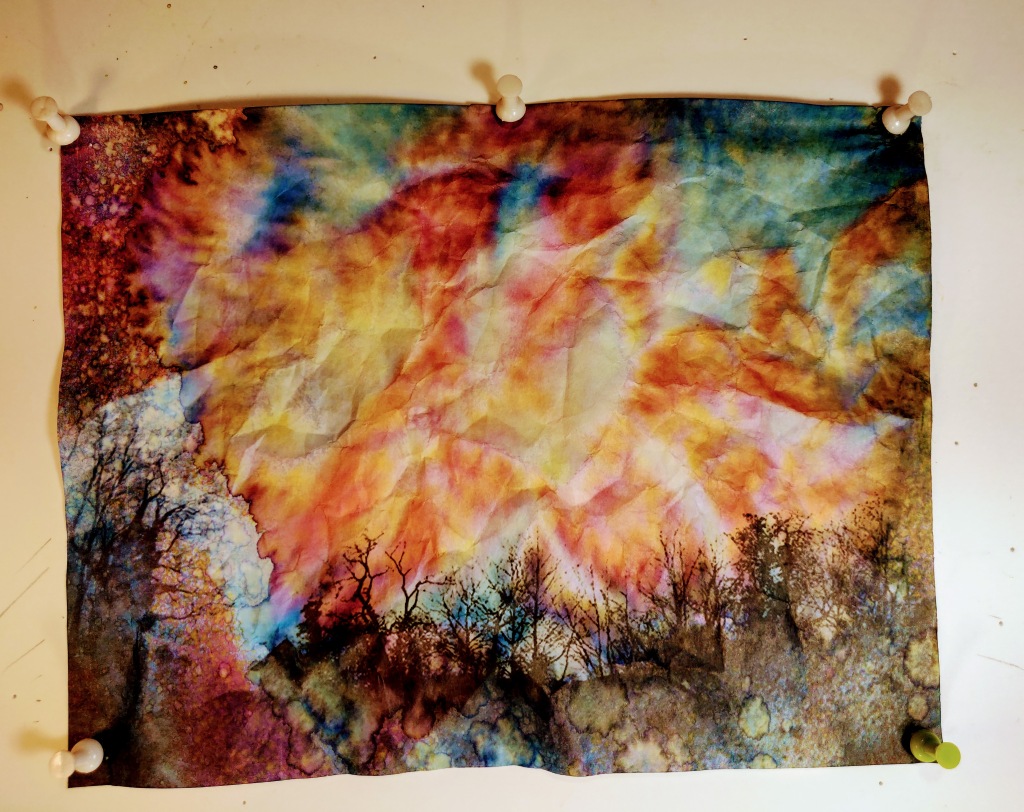
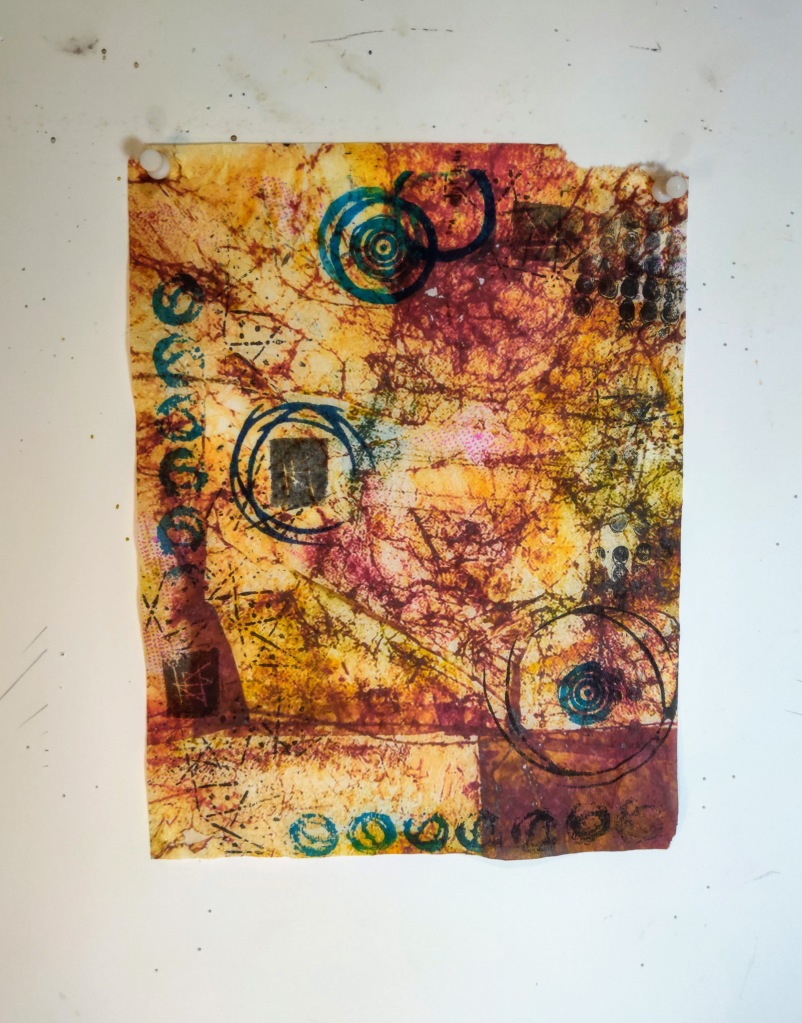
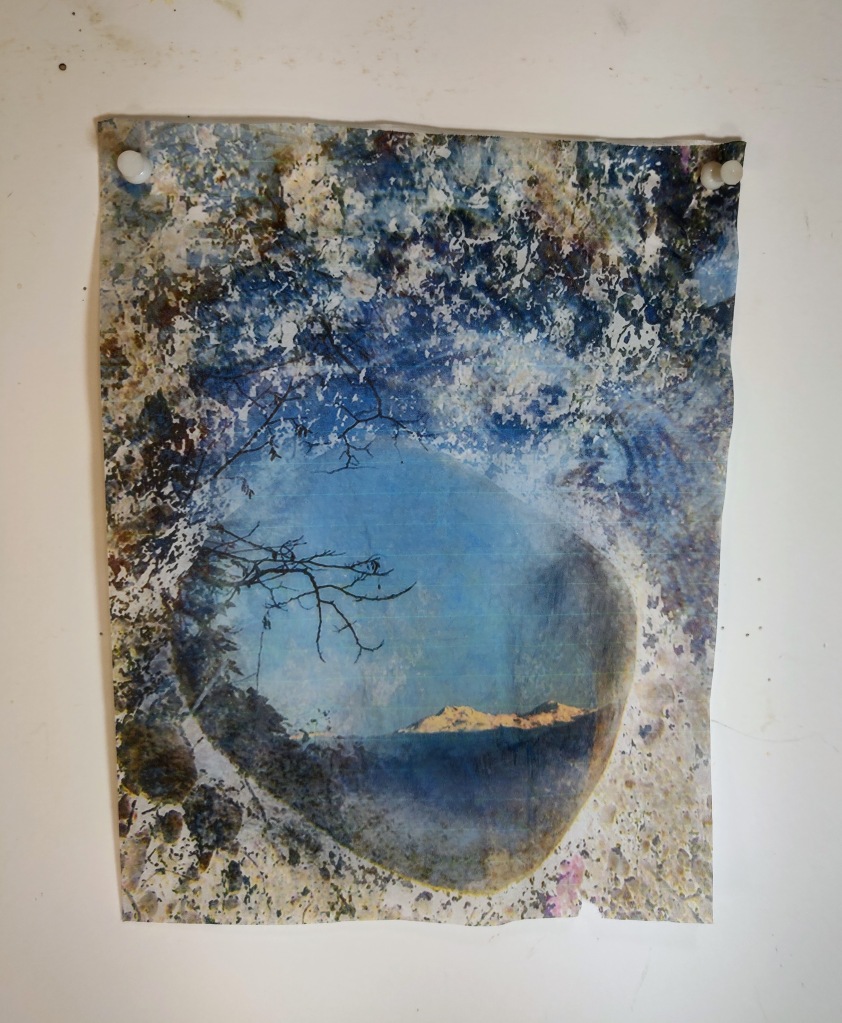
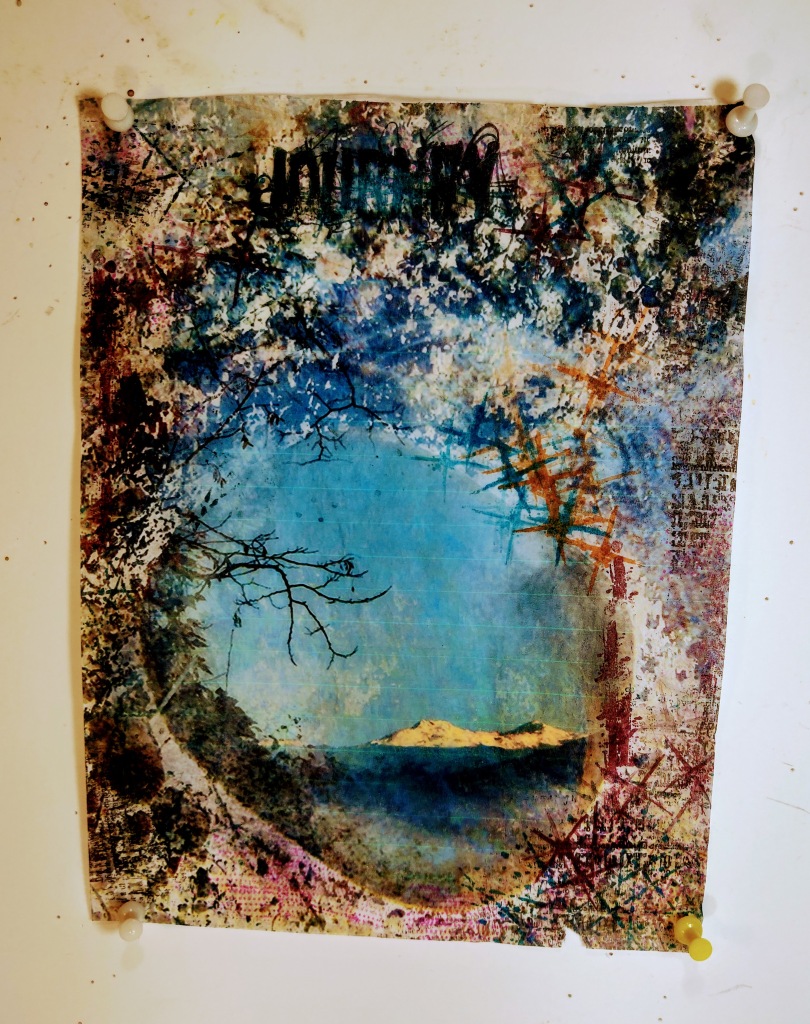
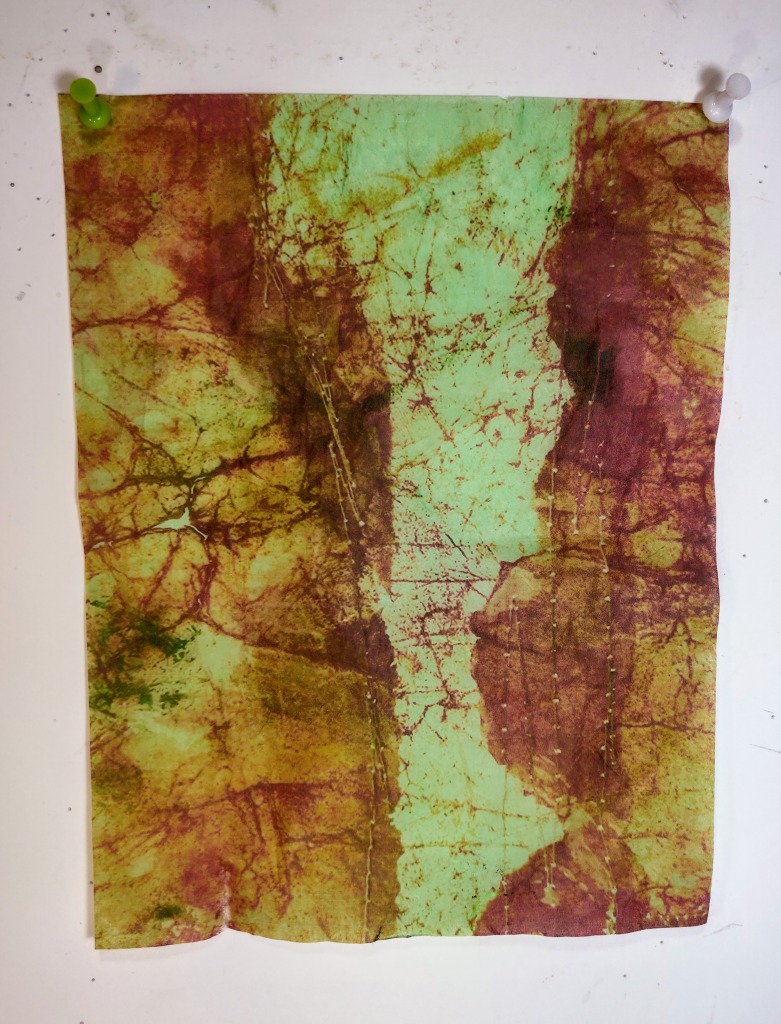
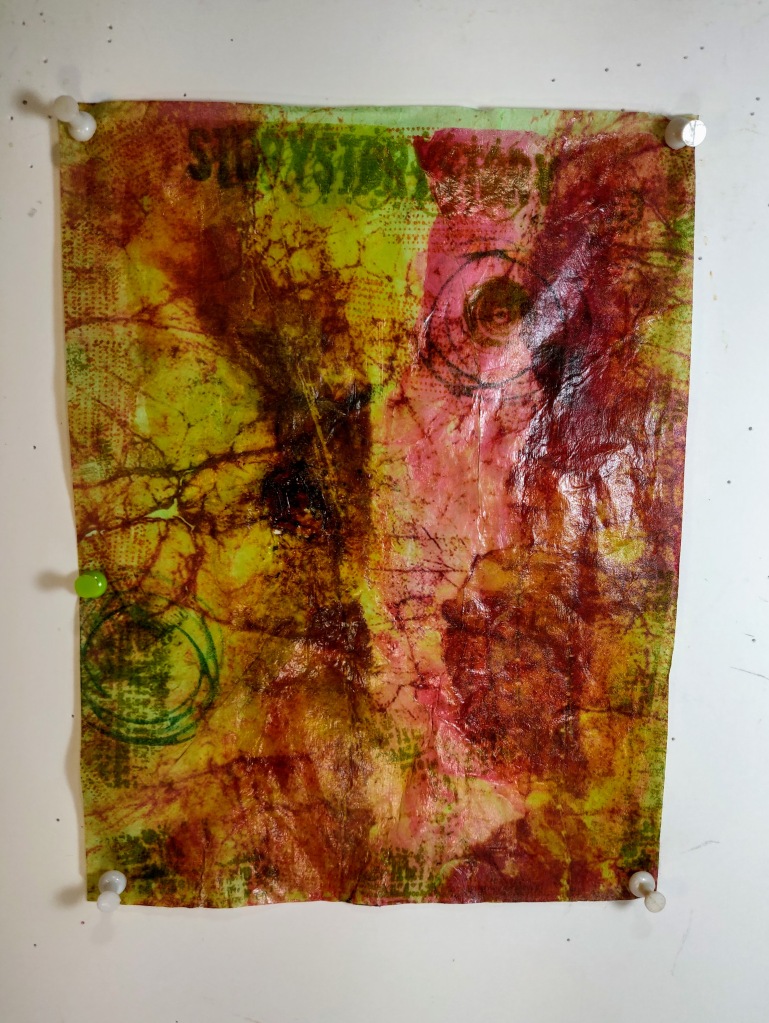
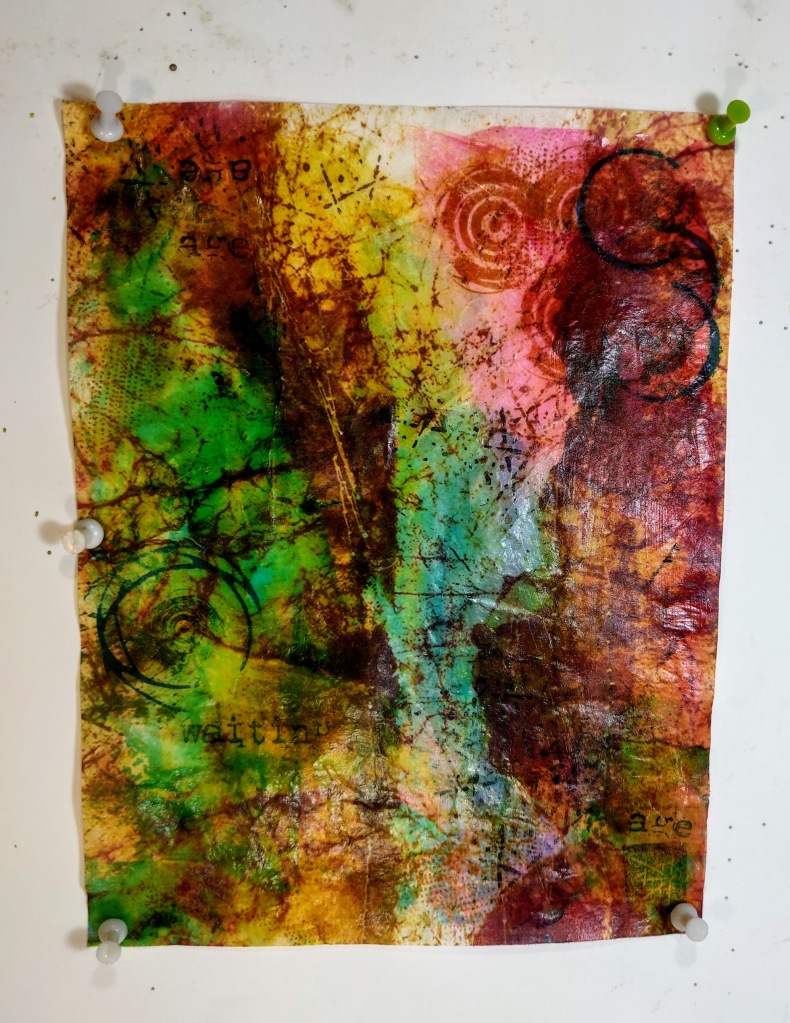
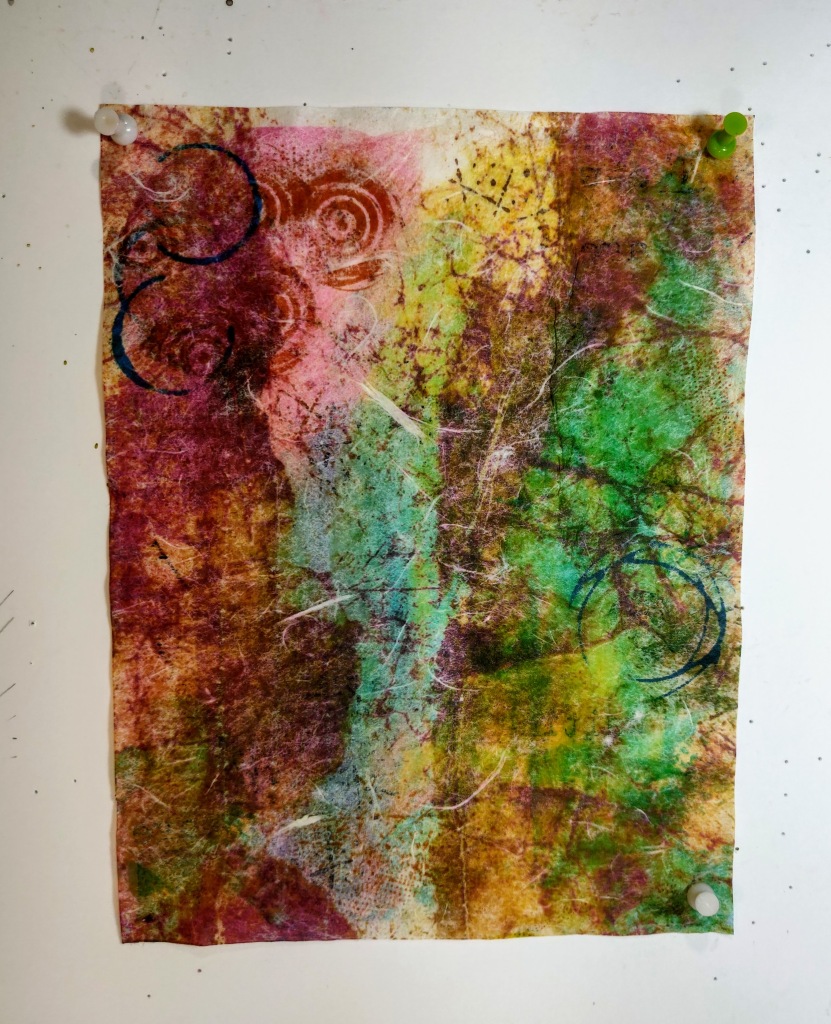
I love all the new tissue and rice papers available today, but I wanted to have some of my own designs on the tissue and rice paper sheets. I made a project where I printed a dryer sheet on freezer paper and thought why not try it with tissue paper and rice paper too and voila! Following is a video explaining how to do it. I forgot to mention in the video to use a HOT IRON with NO STEAM when ironing the sheets on the freezer paper.
I have used prints from two web sites that allow us to download photos from them for free; one is https://unsplash.com/s/photos/free and the other one is https://www.flickr.com/photos/50745053@N03 I want to thank Zane lee and Mizzie Morawez for generously allowing us to download their wonderful prints for free.
The how-to video follows. I will have pictures of the work I did on the prints and also a list of the products I used following the video.
List of supplies :
Seth Apter Eclectica rubber stamps ESA15
Seth Apter Eclectica rubber stamps ESA13
Seth Apter Rubber Stamps Ringers
Seth Apter Electica 02 Cling Rubber stamps
Seth Apter two Journal Jargon Cling Rubber stamp set
Seth Apter Mini 48 Cling Rubber Stamp
StazOn Midis in Orange Zest, Blue Hawaii, and Gothic Purple
Ranger Archival Ink Cactus Flower
Ranger Archival Ink Leaf Green
Tissue paper
Continuing with my 4″ X 4″ Journal
I just about lost the handle on this one, but ended up pulling it off. It’s like Seth Apter says, “You’re only one layer away from magic” I started off with some stamping using Seth Apter’s Eclectica Designer collection stamps from PaperArtsy, set ESA13 and ESA15. Then I added some papers and some mark making. I also added some string tied to the big stitch on the left top corner.

2 Page Spread

Left side of spreaad

Right side of spread
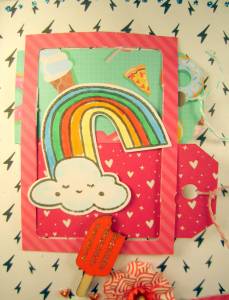
Tags for Douglas High School
I made a couple tags in the Kawaii style for the kids at Douglas High School. The store Everthing Scrapbook and stamps https://everythingscrapbook.com/calendar/ had a campaign to collect as many hand made tags and bookmarks to give to the students and teachers. Here are my contributions.
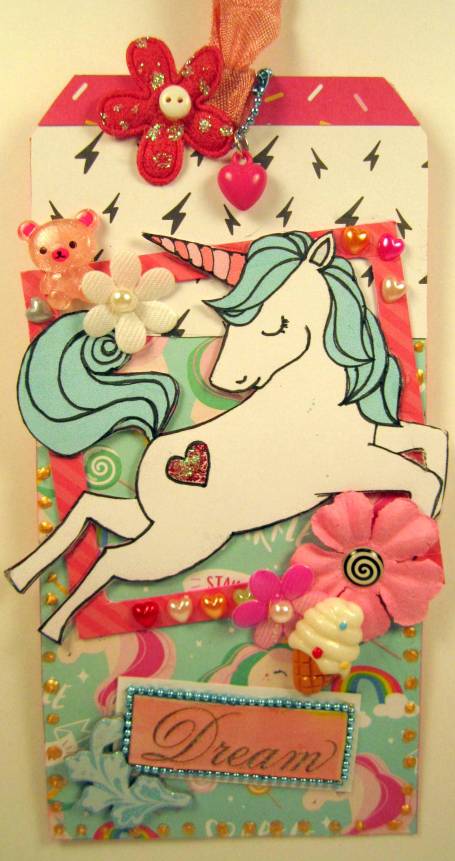
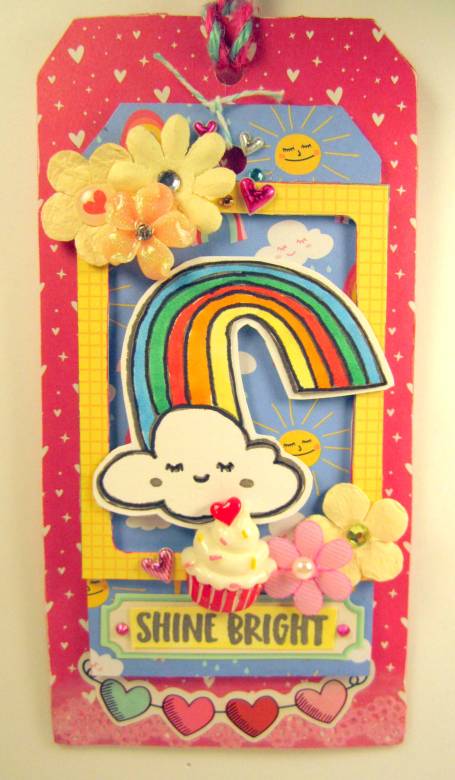
I made them using the Rocollections Cheeky Modern Pop Collection. The resin cupcake, icecream cone, bear, heart and chain are from www.mimilolo.etsy.com I hope it brought a little joy to them.
Getting In Touch with my Inner Kawaii
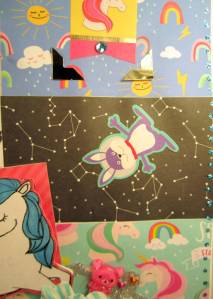
I’ve been enthralled with some Kawaii Rocollections papers from Michaels for a few weeks now. I made a journal page using the papers.
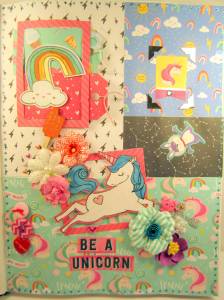
I also used some of the stamp and die cutting sets to make ephemera and tags to add to the pages.
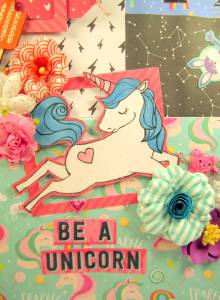
I got the flowers from a set of Recollections flowers I bought a while ago. The bear embellishment is a resin cabochon that I got from an etsy shop www.mimilolo.etsy.com The puffy hearts are from K&Company Smitten collection and the stickers are from several sticker books I got at Michaels.
Michelle Ward Technique on “Creative Jump Start 2018”
I’ve been enjoying the teaching videos over at Nstudio Creative Jumpstart 2018 https://nathaliesstudio.com/ Michelle Ward did this one. If you head over the Nstudios and join Creative Jumpstart, Michelle explains the technique in detail. Also there’s a lot more neat techniques to try. It’s not too late and we can download the tutorials until next November!

Collaged Bristol Paper
For instructions on how to collage in this way refer to Seth Apter’s Easy Mixed Media Surface Techniques.

Collage after adding Michell Ward Technique
Final Post for Seth Apter’s ARTifacts Collection
This is the final post for Seth Apter’s ARTifacts collection http://thealteredpage.blogspot.com/2017/12/artifacts-november-2017.html It seems like just yesterday that I first started with the project and now a whole year has gone by. Seth asked us to send in some options for the final post and I decided to send in my a picture of the front of my finished art journal and a picture of my favorite page.

Front of my ARTifacts journal cover

My favorite page.
To make the journal, I followed the instructions from Seth Apter’s “Inspiration Journal” in the September/October 2016 issue of Cloth.Paper Scissors (Issue 68)
I cut two thick pieces of carboard for the front and back covers. I tore the right side edges of the covers to reveal the rippled piece underneath here and there. To decorate the front cover, I tore different script papers that I had into various sized pieces and collaged them to the cover with Matte Gel Medium. I spread White Gesso over the top of the papers to subdue them a bit.
I then collaged a piece of brown paper to the top left, a piece of light brown paper towards the bottom and a White paper with some black crosshatching and red floral designs on it to the left, bottom side. I sprayed over this background with light green, red and a tiny amount of yellow spray ink. I then collaged one of my Sumi paintings to the cover as shown.
I tore an old Basic Grey Scarlet paper I had into a strip for the right side. I tore a piece from one of my practice journal out and cut a strip about 1/4″ from the squares that were left. I sewed these two pieces together along the left side and adhered it to the right of the sumi painting. I cut a tag from the same Scarlet collection thinner and sewed it to a narrow white piece of paper that I had made ruffles in and glued it to the left side. I made several of the same white paper strips into ruffles and sewed them together. Then I glued them to the bottom of the Sumi painting. I cut a thin red strip from the paper and glued it to the top of the Sumi painting, tore a small piece of molded cardboard cup holders (sewn aroudn the edge with white thread) and glued it under a cardboard strip from the thick cardboard. I glued Tim Holtz letters to spell “Sumi” and glued a couple small, sewn, compressed coardboard cupholder pieces to the right and underneath the letters. I scratched around the outside of the cover with the awl and also over the ribbing underneath the cardboard.
This was sure a lot of fun. I hope Seth does similiar things in the future!
Work It Wednesday Card
I’m going to upload this card on the Work It Wednesday list at Simon Says Stamps https://www.simonsaysstampblog.com/blog/work-wednesday-december-2017/
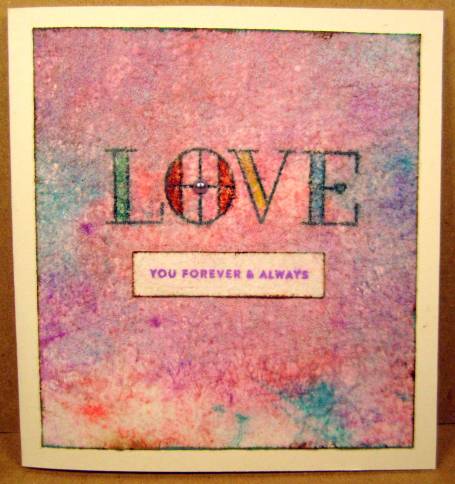
I took an old dryer sheet and stamped the “Love” on it with Tim Holtz Black Distress Oxide ink. I then colored the letters in with Copic Markers. Next I sprayed the stamping front and back with Krylon Matte Finish 1311. I knew I’d be mounting it on the cardstock with Matte Medium and I didn’t want the Distress Ink to smear. Then I rubbed Distress Oxides; Worn Lipstick, Abandoned Coral, Wilted Violet, and Peacock Feathers with the Tim Holtz Mini Ink Blending tool. I put a little color over the letters, but I didn’t go over them so much that they got covered up. I cut a 4″ X 4 3/8″ rectangle from the positioning the letters as shown in the photo. I sprayed both front and back with the Matte Finish again. Spray over the dryer sheet a couple times to insure that the colors don’t run. While that’s drying cut a 2 1/8″ X 1/2″ rectangle from a part of the leftover dryer sheet that has very little color on it. Using a Peaock Feathers stamp pad and then Vintage Photo, color around the edges of the dryer sheet and the smaller rectangle. Mount the dryer sheet to a 4 1/2″ X 4 7/8″ of white card stock using Matte Gel Medium. Stamp the sentiment on the smaller rectangle with Wilted Violet Distress Oxide ink, and glue to the card just below the “Love”. Glue a small grey pearl to the middle of the “O”.
Simon Says Christmas Card
I’m going to quick load this up so I can upload it on Simon Says Christmas Card Challenge. I’ll explain more about it later Merry Christmas!